The tracks of the song from the last post were recorded around June of 2012. I picked the project back up this March, and the mix was completed in April. The learning curve of working in Logic Pro to produce this recording is only part of the story of why it took so long to finish. Another part is more about me and my journey to learn to make better quality recordings. It felt like a desperate struggle during much of the time working on this song. The sounds of the tracks were very much "off", and I didn't understand why at first. I have all this great equipment that can deliver music with the potential of rivaling commercially released music in terms of sound quality, yet I'm still producing stuff that sounds like I record in my bedroom (which I certainly do)! "Amateur", in other words. This is the year I decided to put some time in to figure out why that is, and do something about it...
Somewhere in the middle of the mix, I came across some home recording videos on YouTube. The channel is called "The Recording Revolution". The guy who produces the videos, Graham Cochrane, has a great series of audio mixing tips called "5 Minutes to a Better Mix". This series of videos (93 5-minute clips in all!) were all done using common sense, non-technical language. I couldn't have discovered them at a better time! Although it did sort of delay completion of the mix a bit, the knowledge gained was tremendously valuable. I've got to say that this is, hands down, the best collection of home recording video instruction available on the Internet, free of charge, that I have come across. Highly recommended to anyone trying to improve their recording and mixing skills. Graham also has a website, also called The Recording Revolution, where he posts blog articles on recording related topics and concepts. He also has paid videos and online classes for those who feel they need or want more detailed instruction.
Through Graham's site, I discovered a similar website, Home Studio Corner, run by Joe Gilder. Joe's site has very much the same goal as Graham's; home recording instruction, with tips and tricks, articles, videos, and paid online classes. I like the fact that these two guys promote each other's sites; in fact, they have a joint podcast that they produce called Simply Recording Podcast.
In fact, I just discovered a third home recording site through the previously mentioned two, called Mix Coach, run by Kevin Ward. I'm only just getting acquainted with Kevin's site, but it's set up very similar to Graham's and Joe's. The knowledge gained by all three sites simultaneously be redundant at points, but because these are three different people, they have three different personalities, and three different approaches to how they teach. Basically I take what info I like best from each one, and store it away in my brain for later application to my own recording projects. These are three guys that do this stuff for a living, and for whatever reason, have a calling to try to help people out there to improve their recordings. I for one am sure glad that they do.
The bottom line is that I've been doing this home recording thing now for many years. But after picking up some valuable knowledge and information from these sites recently, it has become embarrassingly obvious to me that I've been lacking a lot of basic fundamentals to facilitate good quality recordings. I must admit it was a hard pill to swallow after all the frustratingly amateur sounding recordings I've produced in the past, but I know that I simply have to move on, apply what I've learned to my future work, and hopefully I will see improvement.
I debated with myself long and hard whether or not to post the song at all, because after all my work, it still did not come out the way I wanted it to. I won't bore you with specific reasons why; you all can listen and judge for yourselves. I'll just say that there were things that I simply could not fix, without spending yet more time working on the track, and that was something I was not willing to do. But in the end, I decided to go ahead and post the song because hopefully it will serve as a document where I can hear the progress in my skills as a recording engineer, even if my only "client" is me!
When I listen to the song, I hear the result of hours of trial and error in the attempts of applying newly learned techniques. Some techniques helped the mix sound better than it would have otherwise, I think. Here's a list of some lessons learned after recording and mixing this song:
- The better your recordings sound going in, the easier it will be to mix them later. Hands down, the biggest lesson I learned this year. This song contains mainly acoustic instruments and vocals, so the majority of the parts were captured using microphones, as opposed to virtual MIDI-based instruments coming directly from inside the computer. I understand now that the tracks were not well recorded due to bad microphone placement, so it took long hours in trying to fix the sound in the mix. "Fixing in the mix" is NOT a job any mix engineer wants to do because it's hard work, and not enjoyable in the least. Taking more time for proper microphone placement during the recording phase is most important in getting the sounds right in the first place. Properly recorded tracks can help make mixing fun and easier, if not easy. This song was NOT fun to mix because of all the troubleshooting, cursing and wanting to cry, all due to mistakes I will hopefully not make again in the future.
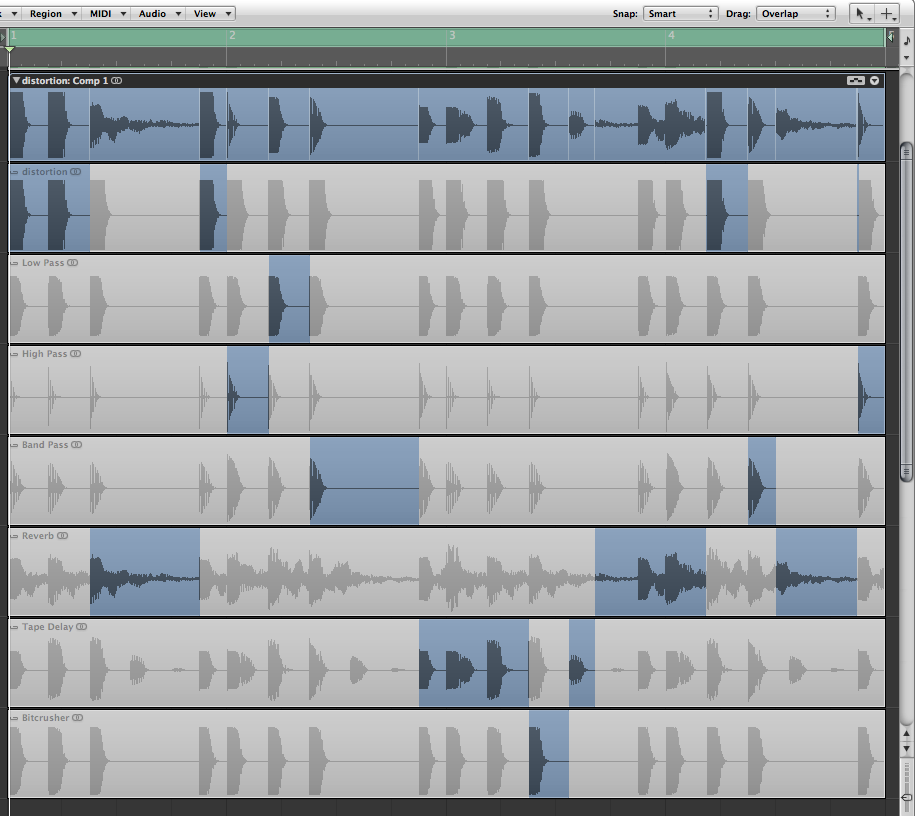
- High and low pass filters are your friends. These are EQ tools which help get rid of frequencies you don't want on a particular track. Particularly useful is the high pass filter, which filters out the "mud-inducing" low frequencies I don't need, thus helping achieve clarity in the mix.
- Route similar tracks together to a group channel. When there are multiple vocals, guitar parts, percussion, etc. like I had for this song, I learned that grouping similar parts together to a single group channel in the mixing stage can be more efficient and really comes in handy when balancing levels or applying effects to the group, opposed to making those adjustments to each individual track.
- I've been recording my tracks way too hot! Modern digital systems don't require recording audio at such a high level like I was used to doing in the analog (tape) and earlier digital (16-bit) worlds. Today's systems, with high sample rates and bit depths, have a much lower noise floor so you don't have to turn up the gain so high when recording. The record levels on this song were pretty high, which required me to either bring the track faders way down when mixing, or use a "Gain" plugin to lower the gain on the track, allowing me to bring the track faders up higher. The same goes for the mix buss, or master buss, which I was taught back in the day, that you should get the level as high as possible without "getting into the red". This is going past 0dB on the level meter, usually inducing distortion, which, to briefly say, you don't want when recording digitally. Now I find that about 50% to 60% of the way up the level meter is all you need, because you can always bring up the overall level later in mastering (a whole other subject).
- Mix at lower volumes. A mixing technique I've heard about years ago, but the concept never truly clicked for me until working on this most recent song. You can get the tracks effectively balanced at an overall volume comparable to, or even lower than, a conversation between two people. I found myself many times bringing the mix down to a whisper-like volume on my speakers to adjust track levels... If you can hear all the important parts of your track well-balanced at that low a volume, chances are it's going to be well-balanced even when you crank it up. Mixing at lower volumes also allows you to work on your mix for longer periods of time before your ears get tired. Ear fatigue is a real phenomenon, and once it kicks in hard, you might as well just stop mixing and give your ears a "break", because you are most likely going to be making bad decisions that will only require you to make corrections the next day!
- Mix in mono. Yet another technique that I picked up recently. With our recording equipment, we have the ability to pan tracks to the left, center, right, or anywhere in-between in the stereo spectrum (between the left and right speakers, or headphones). I learned if you do the majority of the mixing (adjusting levels and EQ) with all tracks straight up the middle, the audio tracks will tend to sound much more balanced when you pan everything out the way you want them later. It also helps with mono compatibility, if by chance someone hears your track in mono. Not the most common situation with today's ubiquitous stereo systems, but hey, it could happen! I found that this technique worked out pretty well for me.
- It's not the gear, it's the user. This final lesson remains as the hardest to learn, me being a guy that loves playing with new gear! But what I've come to understand is if I keep on buying and experimenting with new gear, it won't necessarily help me get any better at recording. Chances are that it will only make me a gear collector, and that's not what I want to be. There's plenty of those kind of guys out there, spouting all kinds of half-assed, ill-informed opinions on Internet forums, and again, I don't want to be that guy. I know now that I've got to be much more resolute in learning all the ins and outs of the equipment I already own before throwing my credit card number out there to buy more. That's not to say that I will never buy any new equipment ever again, but any new gear I buy now has got to serve a very specific purpose. I have all that I need to produce quality recordings; it's now time to get to work and do it!
The process of recording this song was quite a journey, a long and hard one! I must honestly say that it wasn't particularly enjoyable, yet it was also one of the most rewarding, because of these lessons learned. Right now I'm pretty confident in saying that my recordings can only get better moving forward. It's a simple adage, but to adapt something I read in one of Graham Cochrane's articles, ultimately the only thing that will improve my recording and mixing... is more recording and mixing! We're just about halfway through 2013 now, but there's much more recording that can be done before year's end, and I hope to do just that! Until next time...

